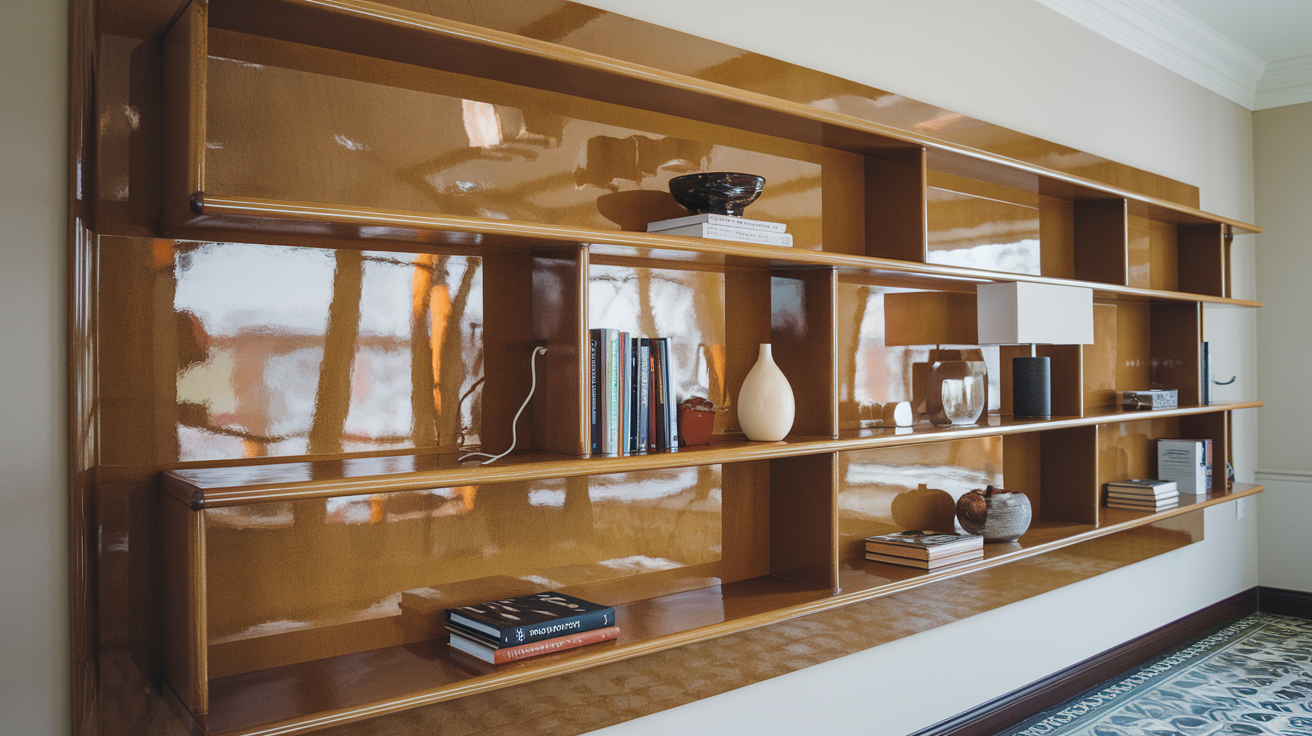
Tips for Achieving a High-Gloss Finish on Wood Projects
A high-gloss finish can turn an ordinary wood project into a stunning, polished piece that showcases the natural beauty of the grain. However, it’s a process that requires patience and attention to detail. Achieving a flawless high-gloss finish involves a series of careful steps, from surface preparation to final polishing. Let’s get into some practical tips for creating that beautiful, mirror-like finish on your wood projects.
1. Choosing the Right Wood
Before diving into finishing techniques, the type of wood you use plays a big role. Dense hardwoods like maple, walnut, and cherry are ideal for high-gloss finishes due to their fine grains. While softer woods like pine and cedar can also be finished to a high gloss, they may require extra work to fill the pores and create an even surface.

If you’re working with open-grained woods like oak or mahogany, consider filling the pores first. These woods can still achieve a high-gloss finish, but the open grain will need extra attention.
2. Start with a Perfectly Smooth Surface
The foundation of any good finish is a smooth surface, and the quality of your sanding affects the final result. Sanding to the right grit will ensure your finish goes on evenly and without blemishes.
- Initial Sanding: Start with medium grit sandpaper, around 120-150, to remove any scratches or imperfections. Work your way up gradually, finishing with a 320-grit or even 400-grit sandpaper.
- Sanding Along the Grain: Always sand along the grain to avoid cross-grain scratches that may show up later. Check your work as you go to ensure the wood is smooth and free of visible scratches.
- Use a Sanding Block: Sanding by hand with a block or pad gives you more control and helps keep the surface even. Power sanders can be used for larger surfaces but should be used carefully to avoid swirl marks.
3. Clean the Surface Thoroughly
After sanding, make sure to clean the surface completely. Any dust left on the wood can ruin the finish and leave imperfections.
- Vacuum or Blow Off Dust: Use a vacuum with a brush attachment or a shop blower to remove dust from all crevices and corners.
- Wipe with a Tack Cloth: Tack cloths pick up fine particles left on the wood, giving you a clean surface to work with. Be sure to avoid using a damp cloth, as it can raise the grain and undo some of your sanding work.
4. Apply a Grain Filler (If Needed)
Open-grain woods benefit from a grain filler, which helps create an even surface by filling in the tiny pores. A smoother surface lets the finish lay flat, which is essential for a high-gloss result.
- Choose the Right Filler: Pick a filler that matches the color of your wood or one that’s clear if you want the grain to stand out. Oil-based fillers work well but need time to dry, while water-based fillers dry faster.
- Apply in Thin Layers: Use a rubber or plastic scraper to apply a thin layer of filler, pressing it into the grain. Let it dry according to the manufacturer’s instructions, then sand it smooth with a fine-grit sandpaper.
5. Select the Right Finish for a High Gloss
Not all finishes will achieve a high-gloss look, so choosing the right product is essential. Here are a few finishes that work well for a mirror-like shine:
- Lacquer: Lacquer dries hard and can be polished to a high gloss, making it a popular choice for high-end furniture. It dries quickly but often requires several coats.
- Polyurethane: Oil-based polyurethane has a natural amber tint and creates a durable, glossy finish. Water-based polyurethane dries clearer and faster but may not be as durable.
- Shellac: Shellac is easy to apply and dries quickly, making it a good choice for indoor projects. However, it’s less durable than lacquer or polyurethane and may need to be re-coated over time.
- Varnish: Varnishes can also create a glossy finish but may take longer to dry and cure. They’re very durable, especially for outdoor projects.
6. Apply Thin Coats for Best Results
Thinner coats are better for high-gloss finishes because they dry faster and reduce the risk of imperfections. Applying thick coats can lead to bubbles, drips, and uneven drying, which are difficult to fix without starting over.
- Brushes vs. Spray: For large projects, spraying is ideal for even, thin coats. However, if you’re using a brush, choose a high-quality, fine-bristled brush and apply the finish slowly to avoid brush marks.
- Allow Ample Drying Time: Each coat should dry fully before adding the next. Rushing this step can lead to uneven curing, which affects the final polish.
- Light Sanding Between Coats: Sand lightly with a very fine grit, around 400 or 600, between coats. This process, called “scuff sanding,” ensures each layer bonds properly and creates a glassy surface.
7. Wet Sand for an Ultra-Smooth Finish
Wet sanding is a key step for achieving a high gloss. This process removes tiny imperfections, smooths out each layer, and preps the surface for final polishing.
- Use Water or Mineral Spirits: Wet sanding typically involves a lubricant, such as water with a few drops of dish soap or mineral spirits. The lubricant prevents the sandpaper from clogging and allows it to glide smoothly over the surface.
- Start with 600-800 Grit: For initial wet sanding, use 600-800 grit sandpaper. Keep the surface wet and sand in small circular motions, checking often to ensure you’re not sanding through the finish.
- Move Up to Higher Grits: Gradually increase the grit up to 1000 or even 2000 for the smoothest possible surface. After wet sanding, the surface should feel glassy to the touch.
8. Polish for a High-Gloss Finish
Polishing is where the shine comes to life. With the right polish, you can achieve a mirror-like gloss that reflects light beautifully.
- Use Rubbing Compound: Rubbing compounds work well for initial polishing. They contain fine abrasives that smooth out tiny scratches from sanding. Apply a small amount to a soft cloth or buffer and work it into the surface in circular motions.
- Follow with Polishing Compound: After rubbing compound, use a finer polishing compound to bring out the gloss. Polishing compound is gentler and leaves a clear, shiny finish.
- Buff with a Clean Cloth: Buffing with a clean, soft cloth after polishing removes any excess polish and reveals a beautiful shine. If using a power buffer, use it on a low setting to avoid overheating.
9. Let the Finish Cure Fully
Curing is different from drying. Even if the surface feels dry to the touch, it may still need time to harden completely. A fully cured finish is more durable, and you’ll notice an improvement in the gloss over time.
- Check Manufacturer’s Curing Time: Depending on the finish, curing can take anywhere from several days to a few weeks. Avoid placing heavy objects on the surface during this time to prevent dents.
- Store in a Dust-Free Environment: While curing, keep the project in a clean, dust-free space. Dust settling on a tacky finish can ruin the gloss and make the surface feel rough.
10. Maintenance for Long-Lasting Gloss
To maintain a high-gloss finish, it’s essential to care for the surface properly. Regular cleaning and occasional polishing can help keep the finish looking new.
- Avoid Abrasive Cleaners: Use only mild soap and water or furniture polish to clean high-gloss surfaces. Abrasive cleaners can scratch the finish and dull the shine.
- Buff Regularly: For a lasting mirror finish, buff the surface every few months with a clean, soft cloth. This helps bring back the gloss and removes any minor scratches that may have appeared.
Achieving a Perfect Glossy Finish
Getting a high-gloss finish is a labor-intensive process, but the results are worth the effort. By starting with the right wood, preparing the surface, and using the right techniques, you can create a brilliant finish that highlights the natural beauty of the wood.
Remember to be patient with each step, from sanding and wet sanding to polishing. With these tips, you’ll be able to create a flawless, professional-quality high-gloss finish that will make your wood projects stand out.


