How to Build a Folding Wooden Table for Small Spaces
Building a folding wooden table is a fantastic way to add functional, space-saving furniture to your home. Whether you live in a small apartment, want a flexible work surface, or need a compact dining option, a folding table can provide an adaptable solution.
This project is a straightforward build that can be completed in a few hours, using simple tools and materials that are readily available. Here’s a comprehensive guide on how to build a folding wooden table for small spaces.
Materials and Tools Needed
Materials
- Wooden board (for the tabletop) – 3/4-inch thick plywood or hardwood
- Wood for legs – 2×2 lumber works well
- Hinges (2-3 sturdy folding hinges or drop-leaf table hinges)
- Wall-mounting brackets (optional if you’re attaching to a wall)
- Wood screws (1 1/4 inch and 3/4 inch)
- Sandpaper (120-grit and 220-grit)
- Wood glue
- Wood finish (optional: varnish, paint, or stain)
Tools
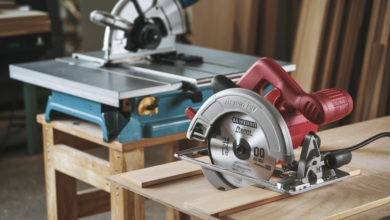
- Saw (circular or jigsaw)
- Drill with drill bits
- Screwdriver
- Tape measure
- Square
- Clamps
- Sander (optional)
Step 1: Measure and Cut the Tabletop
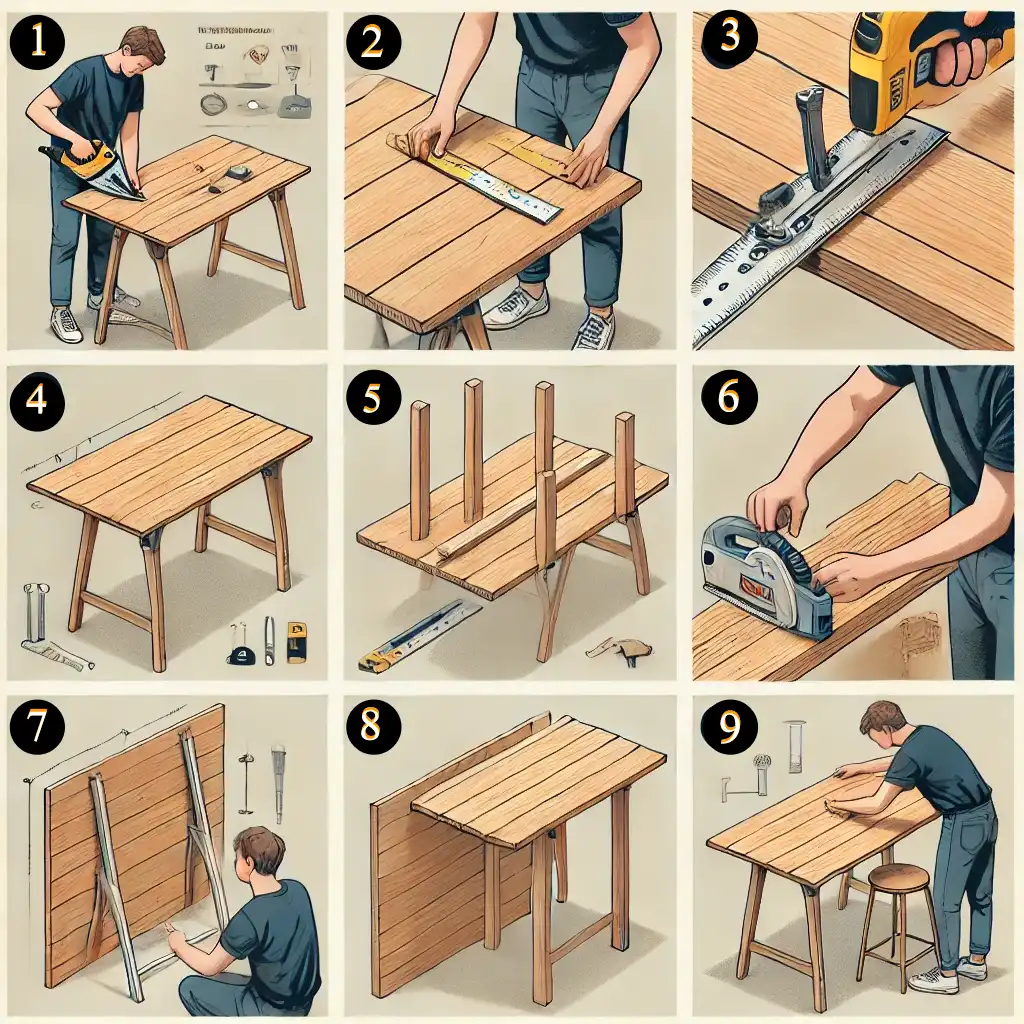
First, decide on the dimensions for your tabletop based on the space you have. A common size for a small, folding table is about 24×36 inches, but adjust as needed. Use a circular saw or jigsaw to cut the wood to your desired dimensions. If you’re building a wall-mounted folding table, you may want to go a bit smaller to prevent it from protruding too far into the room.
- Mark the dimensions of the tabletop on your wood board with a pencil.
- Cut along the marked lines with a saw.
- Use sandpaper or an electric sander to smooth out the edges, so they’re free of splinters and rough spots.
Step 2: Cut and Prepare the Legs
For a standard folding table, you’ll need two or four legs, depending on the design you choose. A two-legged folding table is ideal for attaching to a wall, while a freestanding design generally requires four legs.
- Measure and cut the legs according to the height you want for the table. Most tables are around 29-30 inches high, but adjust according to your needs.
- Sand the legs with 120-grit sandpaper for smooth edges.
- If you’re making a four-legged table, cut the legs to equal lengths and ensure they’re squared off evenly.
Step 3: Assemble the Tabletop and Legs
Attaching the Legs to the Tabletop
- For a wall-mounted design, secure two legs to one side of the tabletop, leaving the other end attached to the wall with hinges. If building a standalone table, attach four legs.
- Position each leg at least an inch in from the corners of the tabletop. Use a square to ensure they’re aligned correctly.
- Pre-drill holes in the tabletop where each leg will attach. Pre-drilling prevents the wood from splitting when you insert screws.
- Secure the legs with 1 1/4 inch screws, driving them in from the tabletop down into the legs. If your table will have a lot of weight, consider adding wood glue to the joints before securing the screws for extra stability.
Adding Hinges (for Folding Legs)
- If you want the table to fold completely flat, you’ll need to attach folding hinges between the legs and the tabletop. Look for drop-leaf or folding table hinges, which are designed to handle this type of structure.
- Attach the hinges to the inside edge of each leg and the bottom of the tabletop so that the legs can fold inward. Be careful to position them accurately so that the legs fold neatly and the tabletop remains level when the legs are extended.
Step 4: Attach Wall-Mounting Brackets (Optional)
For a wall-mounted folding table, the tabletop will require a hinge attachment on one end so that it can fold down when not in use.
- Install wall brackets where you want the table to attach. Ideally, attach these to wall studs to ensure stability. Use a level to make sure they’re even.
- Attach the hinges to the edge of the tabletop that will be closest to the wall. Secure the other side of the hinges to the wall-mounted brackets, following the manufacturer’s instructions.
- Once attached, test the table to ensure it folds up and down smoothly and locks securely when in the folded-down position.
Step 5: Sand and Finish
Once the table is fully assembled, it’s time to sand and finish it. This step will give it a professional look and protect the wood from moisture and stains.
- Sand the tabletop and legs thoroughly with 120-grit sandpaper, followed by a finer 220-grit for a smooth finish.
- Wipe down the wood with a damp cloth to remove all dust before applying any finish.
- Apply your chosen finish to the table. Options include wood stain, paint, or varnish. For a durable, clear finish that showcases the wood’s natural beauty, use a polyurethane varnish. Apply at least two coats, allowing each to dry fully before the next application.
- Allow the finish to cure fully according to the product instructions before using the table. This will protect the wood from scratches and spills, ensuring a long-lasting surface.
Tips for Building a Quality Folding Table
- Choose durable wood such as hardwood or plywood with a hardwood veneer. These types of wood are less prone to warping and will provide a strong foundation for the table.
- Test the hinges and brackets before final installation. Make sure they’re sturdy enough to hold the weight of the table and any items you intend to place on it.
- Use clamps during assembly to keep everything aligned. This is particularly helpful when attaching the legs and hinges, as it allows you to work with greater precision.
- Consider adjustable feet for the legs if the table will be used on uneven flooring. This can prevent wobbling and make the table more stable.
- Add a latch or hook to keep the table securely folded up against the wall if building a wall-mounted version. This will prevent accidental drops and improve safety.
Practical Uses for Your Folding Wooden Table
Once you’ve completed your table, you’ll find it can be used in multiple ways around the home:
- As a dining table in small kitchens or apartments with limited space.
- For hobby workspaces like sewing, painting, or crafting where a temporary workspace is ideal.
- As a desk for home offices that doubles as a wall-mounted table.
- Outdoor furniture for patios or balconies, as long as it’s finished with weather-resistant varnish.
Maintenance Tips
- Regularly check the hinges to ensure they remain tight and secure. Over time, they may loosen due to repeated folding and unfolding.
- Wipe down the table after use to avoid build-up of dust and dirt, especially in folding mechanisms, which can get jammed.
- Inspect the finish periodically. If the finish starts to wear off, lightly sand the surface and apply a fresh coat to keep the wood protected.
Quick Recap
A folding wooden table is an ideal project for anyone looking to maximize space without sacrificing functionality. This DIY build is practical, customizable, and can be completed with basic woodworking skills and tools.
The flexibility of a folding table makes it perfect for various living situations, offering both a practical surface when you need it and the ability to store it neatly when you don’t.
With thoughtful design, quality materials, and a little patience, your folding wooden table can become a staple piece in your home for years to come.

