Fixing Common Woodworking Mistakes in Finished Projects
Woodworking is a rewarding craft, but even the most experienced woodworkers make mistakes from time to time. Whether it’s an uneven finish, a misaligned joint, or a dent from an accidental drop, these issues don’t have to ruin a finished project. Learning how to address common woodworking mistakes can save your work and improve your skills over time.
This guide covers a range of typical issues and practical ways to fix them so that your finished pieces can look as polished as possible.
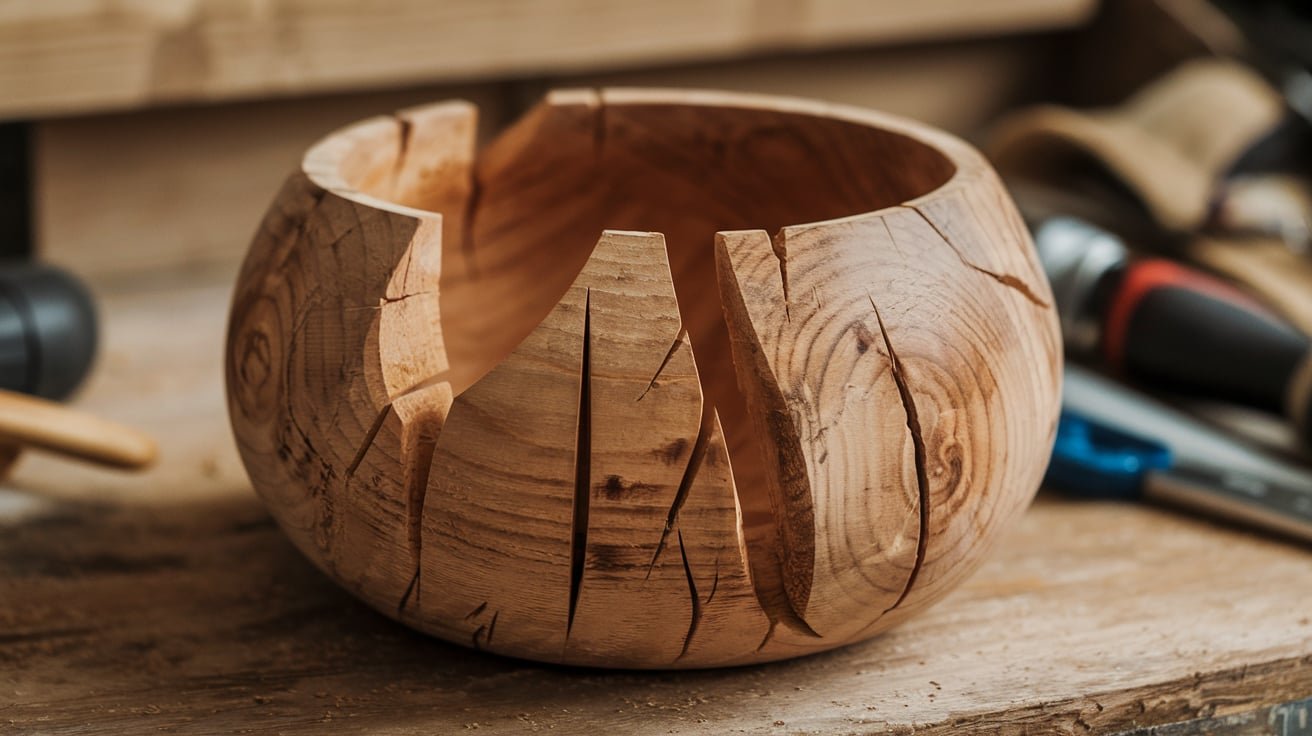
1. Correcting Misaligned Joints
Misaligned joints are one of the most common woodworking mistakes, often occurring due to incorrect measurements or assembly. Joints that don’t fit flush can lead to structural weakness and disrupt the visual flow of a piece.
Fixes:
- Minor Gaps: For small gaps, wood filler can help fill the space. Be sure to choose a filler that matches the wood’s color or use a stainable version if the project hasn’t been finished yet.
- Clamping and Re-gluing: If the misalignment is minor, try loosening the joint carefully (with heat if necessary), adjusting the pieces, and then re-clamping them until they dry in the correct position.
- Sanding and Planing: For slightly uneven joints, sand or plane down the high areas until the surfaces match. Be careful to avoid over-sanding and weakening the joint.
2. Fixing Dents and Dings
Dents and dings often happen when working with softwoods or if the piece is dropped or bumped. While these blemishes may seem permanent, there are ways to minimize or even remove them entirely.
Fixes:
- Steam Method: For small dents, cover the area with a damp cloth and apply a hot iron for a few seconds. The steam will cause the wood fibers to swell and raise the dent, making it less visible.
- Wood Filler: For deeper dings, apply wood filler, then sand it down smoothly to blend with the surrounding surface.
- Sanding Out Scratches: Light scratches can usually be sanded out with fine-grit sandpaper. Make sure to sand in the direction of the grain to avoid additional marks.
3. Addressing Glue Stains
Glue stains are a frequent problem, as excess glue often spreads during assembly and can interfere with finishes, resulting in blotchy or uneven appearances.
Fixes:
- Scraping or Sanding: For fresh glue stains, use a scraper to remove the excess, then sand the area lightly once the glue is dry. This helps to ensure a smooth, stain-free surface.
- Water and a Rag: If the glue is still wet, wipe it away immediately with a damp rag. Be careful not to spread the glue further, as it can soak into the wood.
- Vinegar Solution: Vinegar can help dissolve dried glue stains. Apply a small amount of vinegar to the stained area, let it sit for a minute, and then wipe clean with a cloth.
4. Smoothing Rough or Uneven Finishes
Uneven finishes are usually the result of improper sanding, inadequate wiping between coats, or failing to follow a consistent application technique. They can appear blotchy or streaky, detracting from the wood’s natural beauty.
Fixes:
- Re-sand and Refinish: If the finish is blotchy, lightly sand the affected area with fine-grit sandpaper until smooth, then reapply the finish in even coats.
- Buffing with Steel Wool: Use fine steel wool (0000 grade) to buff the surface if it feels rough or uneven. This method will smooth out inconsistencies without removing too much of the finish.
- Tack Cloth Between Coats: A tack cloth is essential for removing dust between coats. Wiping down the wood before each coat will help achieve a smooth, even finish.
5. Repairing Loose or Wobbly Joints
Loose or wobbly joints can occur over time due to seasonal changes in wood or initial construction errors. A joint that isn’t tight enough can weaken the structure and detract from the quality of the finished piece.
Fixes:
- Inject Glue: For joints that are slightly loose, try injecting glue into the gaps and clamping the joint tightly until it dries.
- Add Wooden Shims or Splines: For larger gaps, consider adding thin wooden shims or splines for extra support. Glue the shim into place, then trim any excess to match the surface.
- Reinforcement with Fasteners: If the joint won’t stay tight, reinforce it with screws or dowels for extra stability. These methods add strength, especially for joints bearing weight.
6. Correcting Incorrect Stain Color
Stain color can turn out differently than expected due to variations in wood grain, application technique, or the stain itself. Fortunately, color corrections are often achievable, though they may require some additional effort.
Fixes:
- Applying a Second Coat: Sometimes, a second coat of stain can deepen the color and help achieve the desired tone.
- Sanding and Re-staining: If the color is too dark, sanding down the top layer of the stain and reapplying a lighter shade can adjust the tone.
- Bleaching with Oxalic Acid: For specific areas that are too dark, oxalic acid can lighten the stain. Use it sparingly, as overuse can affect the surrounding wood.
7. Fixing Warped Wood
Wood warps due to uneven moisture levels, often leading to twisting or bending. While it’s best to store wood properly and monitor moisture before working with it, sometimes warping can occur after the piece is completed.
Fixes:
- Humidity Control: Use a dehumidifier or moisture absorber to reduce the humidity in the room, which can help straighten slightly warped wood.
- Clamping and Moistening: Wrap the warped wood in a damp cloth and clamp it flat. Leave it clamped until the wood dries to help it retain a straight shape.
- Kerf Cuts: For severe warping, make shallow cuts along the backside (kerf cuts) to release tension. Reapply a veneer or finish over the cuts to restore appearance.
8. Filling Small Cracks and Splits
Cracks and splits can be both unsightly and structurally damaging. They usually occur due to shrinkage or stress and, if left unchecked, can weaken the entire piece.
Fixes:
- Wood Filler or Epoxy: Small cracks can be filled with wood filler. For larger splits, epoxy resin can add both strength and an attractive, glossy finish.
- Sawdust and Glue Mixture: For a more natural appearance, mix fine sawdust from the same wood type with glue, then fill the crack. This blend tends to blend well with the surrounding wood when sanded.
- Inserting a Bowtie or Dutchman Patch: For larger splits, inlaying a bowtie or Dutchman patch can provide structural integrity while adding a decorative element.
9. Repairing Burn Marks
Burn marks are common when wood is cut too slowly or when the saw blade is dull. These marks can mar the surface, especially on light-colored wood.
Fixes:
- Light Sanding: Use fine-grit sandpaper to remove shallow burn marks. Be gentle to avoid over-sanding, which can create depressions.
- Scraping: For minor burns, a card scraper can remove the mark without damaging the surrounding wood.
- Bleaching for Deeper Burns: If the burn is deep and won’t come out with sanding, use a wood bleach to lighten the area, though this may alter the wood color slightly.
10. Fixing Gaps in Miter Joints
Miter joints are particularly challenging to get perfect, often resulting in small gaps if the angles are even slightly off. These gaps can weaken the joint and affect the project’s overall look.
Fixes:
- Wood Filler for Small Gaps: For minor gaps, wood filler can close the space and create a seamless appearance. Sand down after drying to match the surrounding surface.
- Shim with Thin Wood Strips: Cut thin strips from the same wood, insert them into the gap, and glue them in place. This method is especially useful for larger gaps.
- Adjusting Angles and Re-cutting: In cases of large gaps, it’s often best to re-cut the mitered edges at the correct angle, even if this means trimming down the piece slightly.
Woodworking mistakes happen to everyone, regardless of experience. Learning how to correct them is an invaluable skill that enhances your craftsmanship and can help you salvage even challenging projects. From filling cracks to fixing finishes, each correction builds confidence and helps refine technique.

