How to Use Glue and Adhesives for Long-Lasting Wood Joints
When it comes to woodworking, joints are the backbone of any project, whether it’s fine furniture or a simple shelf. Strong, durable joints rely not only on precise cuts and fitting but also on the use of quality adhesives. Glue plays a significant role in the stability and longevity of wood joints, helping to hold pieces together in a way that mechanical fasteners alone cannot always achieve.
But not all glues are created equal, and selecting the right type of adhesive, using it correctly, and understanding curing and clamping processes are essential for creating a solid, long-lasting bond.
Here’s an in-depth look at everything you need to know about using glue and adhesives effectively for strong, durable wood joints.
Understanding Different Types of Wood Glue and Adhesives
Choosing the correct adhesive is the first step in creating a lasting wood joint. The variety of glue types available can be overwhelming, but each has unique properties and uses in woodworking. Here are the most common types:
PVA Glue (Polyvinyl Acetate)
PVA glue is perhaps the most widely used adhesive in woodworking. Known for its versatility and affordability, PVA glue is ideal for general woodworking projects. PVA comes in both yellow (often called wood glue) and white versions.
Yellow PVA glue is stronger and typically preferred for woodworking, as it dries harder and bonds more firmly with wood.
- Best For: Interior projects, light to medium-strength joints.
- Limitations: Not waterproof; unsuitable for outdoor use unless labeled as “water-resistant” or “exterior” grade.
Epoxy
Epoxy consists of two parts—a resin and a hardener—that, when mixed together, create an incredibly strong bond.
Epoxy is highly resistant to moisture and temperature changes, making it ideal for outdoor and high-stress applications. It also fills gaps well, which is beneficial when joints are less than perfectly tight.
- Best For: High-stress joints, gap-filling, outdoor projects, mixed-material joints.
- Limitations: Longer curing time, higher cost, often overkill for simple joints.
Polyurethane Glue
Polyurethane glue is a versatile adhesive that expands as it cures, which can help fill minor gaps. It is water-resistant and can be used in outdoor applications, making it suitable for joints that may be exposed to moisture. Polyurethane glue bonds with various materials, including wood, metal, and plastic.
- Best For: Outdoor woodworking, mixed-material bonding, slightly imperfect joints.
- Limitations: Messy to work with, as it expands; requires clamping to prevent movement.
Hide Glue
Hide glue, made from animal collagen, is one of the oldest forms of adhesive used in woodworking. It is typically available in both liquid form and as flakes that need to be mixed with water and heated.
Hide glue offers a moderately strong bond, but its most significant advantage is its reversibility—making it ideal for furniture repairs.
- Best For: Antique furniture, traditional woodworking, and projects that may need disassembly or repair.
- Limitations: Not waterproof; limited to indoor use; weaker than PVA or epoxy.
Cyanoacrylate (CA) Glue
Commonly known as super glue, CA glue bonds quickly and is ideal for temporary holds or very small joints.
While CA glue isn’t usually strong enough for structural wood joints, it can be very useful for tasks like holding small pieces in place or attaching trims.
- Best For: Small repairs, light-duty applications, and temporary holds.
- Limitations: Brittle bond, not suitable for load-bearing joints, typically not waterproof.
Preparing Wood Surfaces for Gluing
Even the best glue won’t hold well on dirty or rough surfaces. Proper surface preparation is essential for achieving a strong bond.
- Clean the Wood Surface: Ensure the wood surfaces are free from dust, dirt, and grease. Clean the surfaces with a dry cloth or use a damp rag to wipe away dust, letting it dry thoroughly afterward.
- Smooth the Surface: Joint surfaces should be smooth, flat, and free of rough spots. A hand plane or sandpaper can be used to achieve a smooth surface. For the best bond, try to keep sanded areas around 150-180 grit; extremely smooth surfaces (over 220 grit) may hinder glue absorption.
- Test Fit Before Applying Glue: Always dry-fit the pieces together before applying glue. This allows you to make any adjustments in alignment and clamping before the glue application, reducing the risk of misalignment once glue is applied.
- Moistening Wood for Polyurethane Glue: If you are using polyurethane glue, slightly dampen the wood before application. Polyurethane glue requires moisture to cure and expand, so adding a small amount of water will improve its performance.
Applying Glue for Strong Joints
The way you apply glue can have a significant impact on the strength and durability of the joint.
Use an Even, Thin Layer
- Apply a thin, even layer of glue to both surfaces of the joint for maximum contact.
- Overapplying glue doesn’t make the joint stronger; in fact, excess glue can create messy joints and potentially weaken the bond by reducing the adhesive’s direct contact with the wood.
Use a Brush or Roller for Large Surfaces
- For larger joints or surfaces, consider using a small glue brush, roller, or a dedicated glue applicator bottle. This ensures a consistent application and reduces the chance of missed spots.
Don’t Forget the End Grain
- End grain is more porous and will absorb glue quickly, which can weaken the joint if not addressed. To improve the strength of joints involving end grain, apply a small amount of glue and let it soak in for a few minutes, then apply a second coat before assembly.
Clamping Techniques for a Solid Bond
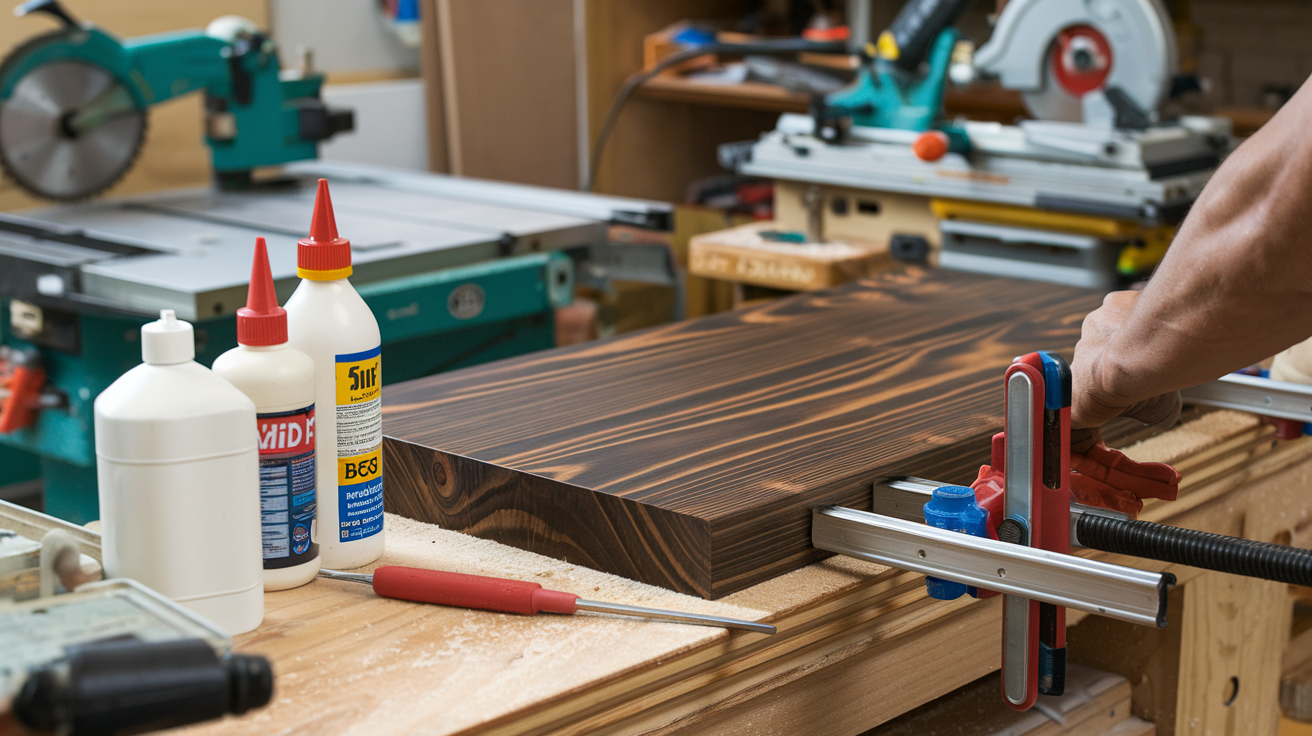
Proper clamping is crucial for achieving a strong bond, as it ensures even pressure and alignment while the glue cures. Here are some tips for effective clamping:
Choose the Right Clamp Type
- Bar Clamps: Bar clamps provide even pressure across long surfaces, making them ideal for larger joints, such as panels and tabletops.
- Pipe Clamps: Pipe clamps are adjustable and can be extended to accommodate various project sizes, making them versatile for larger assemblies.
- F-Clamps: F-clamps are lighter and suitable for smaller joints or when working in tighter spaces.
- Spring Clamps: For smaller projects or delicate pieces, spring clamps offer moderate pressure and are easy to apply and remove.
Apply Even Pressure
- Ensure that pressure is evenly distributed across the joint to avoid gaps. Too much pressure can squeeze out all the glue, weakening the bond, while too little pressure can lead to a loose joint.
Avoid Over-Tightening
- Tightening clamps too much can lead to warping or squeezing out too much glue. Aim for firm but not excessive pressure. Check for a small amount of glue squeeze-out along the edges to ensure adequate pressure without over-clamping.
Clean Up Excess Glue Immediately
- After clamping, wipe away excess glue with a damp cloth while it’s still wet. Dried glue is difficult to remove and can affect the appearance and finish of the wood.
Allowing Sufficient Curing Time
Patience is key when it comes to gluing wood joints. The bond strength depends not only on the type of glue used but also on giving it enough time to cure fully.
- Follow the Manufacturer’s Guidelines: Each adhesive has a recommended curing time, usually found on the label or packaging. Following these guidelines is essential for maximum bond strength.
- Temperature and Humidity Considerations: Glues cure best in moderate temperatures (around 65-75°F or 18-24°C) and low to moderate humidity. High humidity can delay curing, while extremely low temperatures can make glue brittle and slow down the setting process.
- Wait Before Removing Clamps: Even though some glues set quickly, it’s advisable to leave clamps on for a few hours or as recommended to achieve a secure bond. For high-stress joints, leaving clamps on for 24 hours is ideal.
Reinforcing the Glue Joint for Extra Strength
In high-stress areas or pieces that will endure a lot of weight, reinforcing the joint can help increase its durability. Here are some additional techniques:
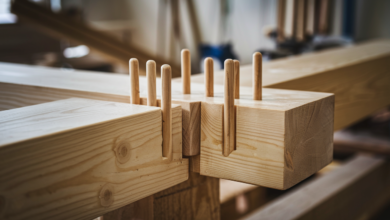
Using Dowels
- Dowels can be added to butt joints or other basic joints to increase the surface area of the bond. Drill holes in both pieces to fit the dowels, apply glue in the holes and on the dowels, and insert them before clamping.
Biscuit Joints
- Biscuits, made from compressed wood, are commonly used to reinforce panel joints. Cut a slot for the biscuit in both pieces of wood, add glue to the slot and biscuit, and assemble the joint. The biscuit will expand slightly, creating a tight bond.
Pocket Screws
- Pocket screws, used in conjunction with glue, can provide additional stability for joints. Drill angled holes for the screws, apply glue, and screw the joint together. This method works well for frames, cabinets, and face frames.
Using Corner Braces or Metal Plates
- For high-stress joints in cabinets or shelving, metal corner braces or plates can add strength. These braces are attached to the wood with screws, helping secure the joint beyond what glue alone can offer.
Tips for Common Woodworking Joints and Glue Application
Different woodworking joints have unique needs when it comes to glue and clamping. Here’s a quick guide on using glue for a few common types of joints:
Mortise and Tenon Joints
- Mortise and tenon joints rely on precise fitting, and glue adds to the joint’s strength. Apply glue inside the mortise (but not too much, as it can squeeze out) and lightly on the tenon. Clamp and allow it to cure for maximum strength.
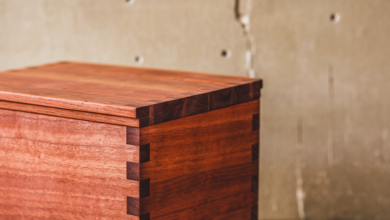
Dovetail Joints
- Dovetail joints are often self-locking but still benefit from glue for added stability. Use a small brush to apply glue sparingly along the tails and pins to avoid messy squeeze-out. Light clamping is usually enough to secure the joint while the glue dries.
Butt Joints
- Butt joints have a smaller gluing surface, making them weaker than other types. Reinforce these joints with dowels or screws if needed, and ensure even clamping pressure to prevent gaps.

