How to Prevent Wood from Splitting When Nailing or Screwing
Wood splitting is a common issue that can lead to weakened joints, compromised structural integrity, and a less-than-professional finish on woodworking projects. When working with fasteners like nails and screws, the pressure can cause the wood fibers to separate, especially in harder woods or along thin edges.
Luckily, there are several tried-and-true methods to avoid wood splitting, from choosing the right fasteners to adjusting your approach. Here, we’ll cover techniques to help keep your wood intact and your project looking polished and durable.
Understanding Why Wood Splits
Wood splits when the fibers cannot handle the force applied by nails or screws. Factors influencing splitting include:
- Wood grain direction: Fasteners driven perpendicular to the grain are more likely to cause splitting.
- Wood type: Hardwood species like oak and maple tend to be denser and may split easier than softer woods like pine.
- Fastener type and size: Large nails and screws apply more force, increasing the chance of wood splitting.
- Location of fasteners: Placing fasteners too close to the edge or end of a piece of wood can result in splits as there’s less wood to absorb the force.
By understanding these factors, you can choose the right techniques to prevent splitting.
Choose the Right Fasteners
Selecting appropriate nails and screws is essential to minimizing splits.
- Thin Nails and Small Screws: Thinner nails (like finishing nails) are less likely to split wood compared to larger nails. For screws, smaller diameters put less strain on the wood fibers.
- Self-Tapping Screws: Self-tapping or self-drilling screws have a drill-like tip that creates a small pilot hole as you drive them in, reducing the risk of splitting.
- Screws with Threads for Wood: Use screws specifically designed for wood; their thread spacing helps grip without over-compressing the wood fibers.
- Avoid Nails for Thin or Hard Woods: Nails can exert excessive force on dense woods, and thinner boards are more prone to splitting with nails. Screws tend to apply less pressure and may be better suited for these materials.
Drill Pilot Holes
One of the most effective ways to avoid splitting wood is by drilling pilot holes before inserting nails or screws.
- Choose the Right Drill Bit Size: The diameter of the drill bit should be slightly smaller than the fastener’s core. For screws, it should match the shank diameter without the threads, so the threads grip the surrounding wood while the core slides through easily.
- Depth of Pilot Hole: Drill the pilot hole as deep as the screw or nail length. For long screws, this reduces resistance and pressure on the wood fibers.
- Pilot Holes in Hardwood: For dense hardwoods, pilot holes are essential since these woods don’t compress as easily, leading to a higher risk of splitting.
Drilling a pilot hole lets the fastener slide through with minimal force, avoiding pressure buildup that leads to cracks.
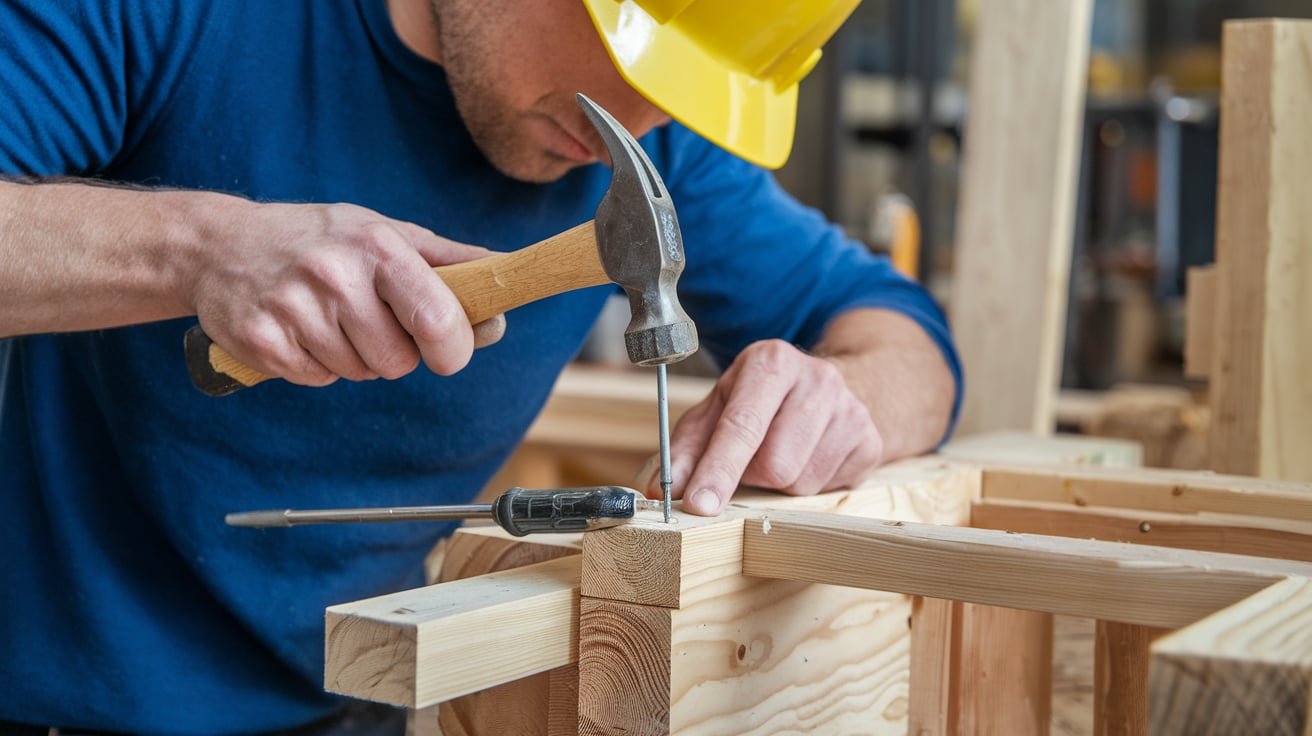
Use Countersinking Techniques for Screws
Countersinking involves creating a small recess for the screw head, allowing it to sit flush or slightly below the wood’s surface. This technique reduces the amount of wood being displaced as the screw head reaches the surface.
- Countersink Drill Bit: Use a countersink bit, which drills a small cone-shaped indentation for the screw head. Many countersink bits also include a pilot hole bit, making it a two-in-one tool.
- Avoid Over-Countersinking: Drill only as deep as the screw head; drilling too deep can compromise the wood’s surface.
- Reduce Splitting: Countersinking reduces the pressure exerted by the screw head as it tightens against the wood surface, making it a practical choice for softwoods and hardwoods alike.
Position Fasteners Carefully
Positioning nails and screws correctly is key to preventing splits.
- Avoid the Ends: Place fasteners at least 1 to 2 inches away from the edges and ends of the wood. This reduces the chance of splitting, especially in thinner pieces.
- Stagger Fasteners: When using multiple screws or nails, avoid aligning them in a straight row; staggering them helps distribute pressure and keeps splits at bay.
- Drive at an Angle: If possible, drive nails at a slight angle. This distributes the force more evenly and reduces the chance of splitting.
- Mind Grain Orientation: When screwing into end grain, take extra precautions as wood is more likely to split along its grain lines. End-grain pilot holes should be slightly larger, and screws should be driven gently.
Blunt the Tip of Nails
A sharp nail tip acts like a wedge, forcing wood fibers apart and increasing the likelihood of splits. A simple trick to minimize this effect is to blunt the nail tip.
- Blunting Technique: Lightly tap the tip of the nail with a hammer to flatten it slightly. This makes it less likely to split wood fibers when driven in.
- Use on Softwoods: Blunting is especially useful in softwoods, where fibers are more prone to splitting under pressure.
- Careful Application: Blunt nails work best on smaller, thinner boards. Avoid this technique on hardwoods, as blunt nails may struggle to penetrate dense materials.
Use Clamps for Added Support
Clamps provide extra support and hold the wood fibers tightly in place, reducing the chance of splitting as you drive in fasteners.
- Use Parallel Clamps: Position parallel clamps on either side of the fastener to hold the wood fibers in place as you drive in the nail or screw.
- For Edge and End Fastening: Clamps are particularly helpful when working near the edges or ends, where the risk of splitting is highest.
- Release Slowly: After fastening, release the clamp gradually. This ensures the fibers are settled around the fastener and reduces pressure that might cause cracking.
Moisten the Wood Before Nailing
Wood fibers become more flexible when damp, which can reduce the likelihood of splitting. This technique works well for delicate wood types or when driving nails close to edges.
- Lightly Moisten with a Damp Cloth: Apply a damp cloth to the area where you’ll be driving the nail. Avoid soaking the wood; a slight dampness is sufficient.
- Dry Completely After Fastening: Once the nails or screws are in place, allow the wood to dry thoroughly to avoid any moisture-related issues down the line.
- Use Sparingly: While effective, this technique should only be used when necessary, as excess moisture can lead to wood warping or swelling.
Slow and Steady Approach with Power Tools
Power drills and nail guns offer speed and efficiency, but they also increase the risk of splitting due to the force they apply.
- Reduce Speed on Drills: When using a power drill, slow the drill speed when approaching the wood’s surface, especially in softwoods.
- Use the Right Amount of Pressure: Apply only the necessary pressure and avoid pushing too hard. Let the tool do the work rather than forcing it.
- Lower the Nail Gun’s Pressure Setting: With nail guns, adjust the air pressure setting so it’s just high enough to drive nails without excess force.
Taking a slow and steady approach gives the wood fibers time to compress without being forced apart, which helps prevent splitting.
Consider Wood Density and Hardness
Different wood types respond differently to fasteners. Knowing the wood density helps in choosing the right fastening method.
- Softwoods: Pine, cedar, and spruce are more flexible but also prone to splitting, especially along the grain. Blunted nails and pilot holes are helpful.
- Hardwoods: Maple, oak, and cherry require greater care, as they’re dense and resist compression. Always use pilot holes and consider lubricating screws if necessary.
- Pre-Testing with Scrap: If working with a new wood type, do a test run with scrap pieces to determine the best fastening technique without damaging the final project.
Use Wood Glue and Fasteners Together
For projects where extra strength is required, combining wood glue with nails or screws can provide added stability while preventing splits.
- Apply Glue Before Fastening: Add a thin layer of glue along the joint before driving in screws or nails. This reduces the force needed from the fasteners, lessening the chance of splits.
- Clamp After Gluing and Fastening: Clamping while the glue dries adds additional support and ensures an even hold.
- Use Glue Sparingly: Too much glue can cause the wood to swell, which may increase splitting if not properly clamped.
Consider Alternative Fastening Methods
In some cases, using nails or screws isn’t the only option. Here are some alternatives that can reduce the chance of splitting:
- Wood Joinery Techniques: Use mortise and tenon, dowels, or pocket holes instead of screws and nails for a cleaner and stronger joint.
- Brads or Staples: Brads or staples exert less force and can hold smaller or thinner pieces in place without splitting.
- Hidden Fasteners: Some projects benefit from hidden fasteners, like clips or cleats, which allow the wood to stay intact while still being securely fastened.
Preventing wood from splitting when nailing or screwing comes down to careful preparation, the right choice of fasteners, and using techniques that respect the wood’s natural properties.
By selecting the proper tools, drilling pilot holes, using clamps, and carefully placing fasteners, you can preserve the beauty and durability of your woodwork.
Taking the time to use these methods will result in cleaner, stronger joints and ensure that your project holds up beautifully over time.

