How to Use a Belt Sander: Essential Tips and Tricks
A belt sander is a powerful and versatile tool that is essential in any woodworker’s collection. It’s especially valuable for shaping, smoothing, and leveling large surfaces of wood quickly and efficiently. While it can be a straightforward tool to operate, mastering a belt sander requires some essential techniques and tips to ensure a smooth, professional finish and to avoid costly mistakes.
In this guide, we’ll walk through everything you need to know about using a belt sander, from selecting the right grit to handling techniques, safety, and maintenance.
Understanding Belt Sanders: Basics and Parts
Before diving into tips and techniques, it’s helpful to understand the basic components and functions of a belt sander.
Components of a Belt Sander:
- Belt: The sanding belt, a continuous loop of abrasive material, comes in various grit sizes for different levels of sanding.
- Motor: The motor powers the belt, causing it to rotate at high speeds.
- Belt Tension and Tracking Adjustments: These controls keep the belt in place while it spins and allow for adjusting its alignment on the rollers.
- Front and Rear Rollers: These rollers guide the belt around in a continuous loop.
- Dust Collection: Many models include a built-in dust bag or port for attaching a vacuum, which helps maintain a clean work surface and reduces dust inhalation.
Types of Belt Sanders:
- Handheld Belt Sanders: Portable models that you can bring to the workpiece, ideal for furniture projects, flooring, and other larger surface areas.
- Stationary Belt Sanders: Fixed models where you move the workpiece against the belt, often used for shaping smaller pieces and detailed work.
Selecting the Right Belt for Your Project
Choosing the right sanding belt is crucial for effective sanding and achieving a good finish.
Grit Size: Sanding belts come in different grits:
- Coarse Grit (40-60): Good for aggressive sanding, shaping, or removing old finishes.
- Medium Grit (80-120): Suitable for general sanding and leveling surfaces.
- Fine Grit (150-220 and above): Ideal for finishing work and smoothing surfaces before applying finishes.
Material Type: Use the appropriate type of belt for the material you’re working with:
- Aluminum Oxide: Common for wood sanding due to its durability.
- Zirconia Alumina: Great for heavy-duty applications and harder woods.
- Ceramic: Known for longer life, ceramic belts are used on metal and hardwood projects requiring extensive sanding.
Setting Up Your Belt Sander
Proper setup can prevent many common problems that occur during sanding.
Checking Belt Tension and Tracking:
- Before starting, ensure the sanding belt is properly tensioned. A loose belt may slip, while one that’s too tight can strain the motor.
- Adjust the tracking to center the belt on the rollers. Most belt sanders have an adjustment knob to keep the belt aligned. Turn on the sander briefly to see if the belt runs straight. If it wanders, adjust until it stays centered.
Dust Collection:
- Use the dust bag or connect a shop vacuum to the dust collection port if your sander has one. This helps keep your workspace cleaner and reduces the amount of airborne dust you’ll inhale, which is especially important when sanding indoors.

Mastering Belt Sander Techniques
Operating a belt sander may seem straightforward, but mastering it involves a few key techniques.
Start with a Coarse Grit:
- If your project involves heavy-duty sanding or shaping, start with a coarse grit, such as 40 or 60. This removes more material quickly but will leave a rough surface, so plan to follow up with finer grits.
Always Keep the Sander Moving:
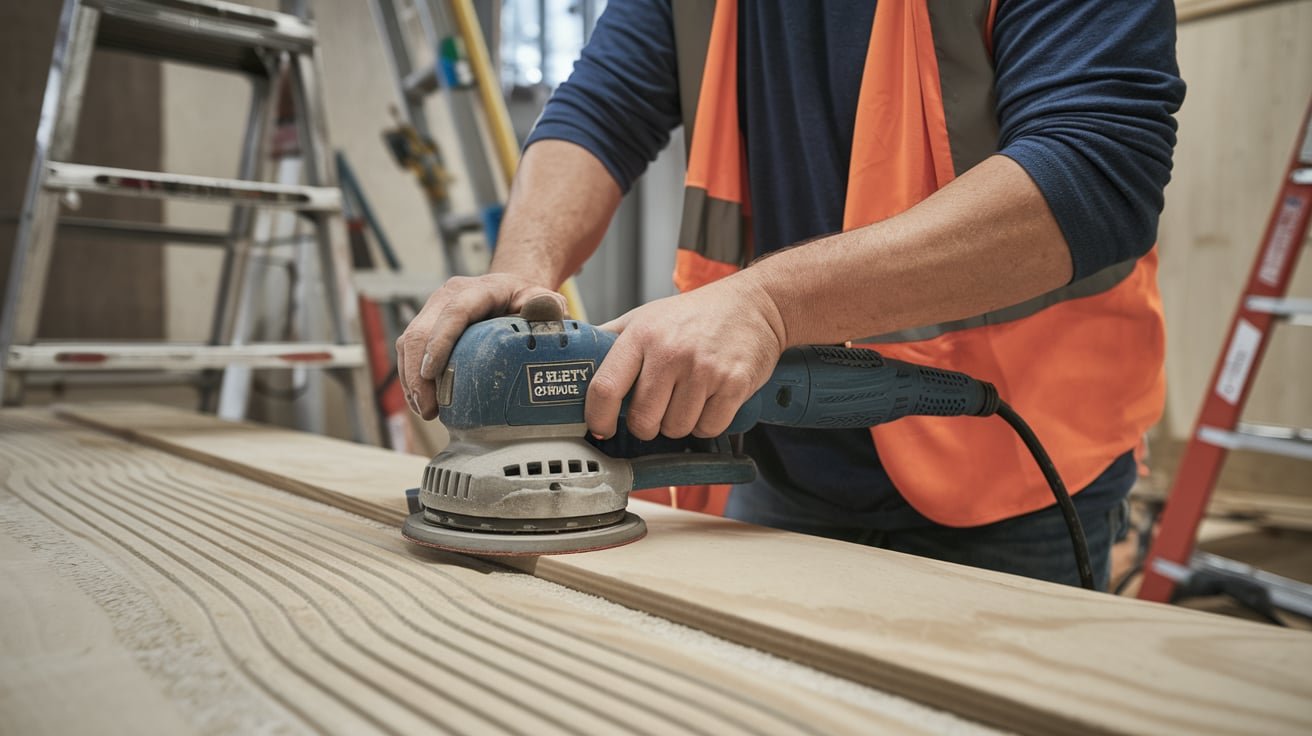
- Never leave a belt sander in one spot for too long, as it can quickly gouge or create low spots in the wood. Use a smooth, even motion across the surface.
- Move the sander along the grain of the wood for a uniform finish and to minimize scratches.
Use Light Pressure:
- Let the weight of the sander do the work. Pressing down too hard will not only wear out the belt prematurely but may also cause uneven sanding or gouging.
- Over time, you’ll develop a feel for how much pressure is needed, but as a rule of thumb, less is more when it comes to belt sanding.
Control Your Speed:
- If your belt sander has variable speed settings, choose a lower speed for softer woods and fine finishing. Higher speeds are best for coarse sanding and tough materials.
Work in Stages:
- Sanding is a gradual process, so work in stages. Start with coarse grit for shaping, medium for leveling, and fine grit for finishing.
- Progress through grits without skipping levels. Jumping from a coarse to a fine grit can leave visible scratches and unevenness.
Edge and Corner Sanding Tips
Edges and corners require special attention because they’re prone to over-sanding.
Prevent Rounding:
- Belt sanders are aggressive, so take extra care to avoid rounding off edges. Keep the sander flat and move parallel to the edge to maintain crisp, sharp corners.
Use a Sanding Block for Tight Spaces:
- In tight or detailed areas, where the belt sander may be too large or powerful, switch to a hand sanding block. This gives you more control and precision.
Blend Edges Smoothly:
- When working on a tabletop, for example, you’ll want the top surface and edge to have a smooth, continuous transition. Use finer grits along the edge to ensure a uniform finish.
Sanding Safety: Tips to Follow
A belt sander is powerful, so always follow safety precautions to protect yourself.
Wear Safety Gear:
- Always wear safety goggles to protect your eyes from flying debris.
- Use a dust mask or respirator, especially if you’re working with softwoods that produce fine dust.
- Wear ear protection, as belt sanders can be noisy.
Secure Your Workpiece:
- Clamp down the piece you’re sanding to keep it stable. The force of the belt sander can cause an unsecured piece to shift or slip, risking both your work and your safety.
Keep Hands and Fingers Clear:
- Avoid touching the belt while it’s running, as the abrasiveness can quickly injure skin. Always turn off the sander before adjusting the belt or clearing away dust.
Work in a Ventilated Area:
- Sanding creates a significant amount of dust. Whenever possible, work in a well-ventilated area or wear a dust mask if indoors.
Maintaining Your Belt Sander
Regular maintenance extends the life of your belt sander and keeps it performing optimally.
Change Belts Regularly:
- Sanding belts wear down over time, especially if you’re using coarse grits on rough surfaces. Swap out belts when they appear smooth or aren’t removing material effectively.
Clean the Dust Collection Bag:
- Empty the dust bag frequently to prevent clogs and reduce fire hazards. A full dust bag also reduces suction, making your dust collection system less effective.
Check the Power Cord:
- Inspect the power cord regularly for any wear or fraying. Replace damaged cords immediately, as they pose a safety risk.
Lubricate Moving Parts:
- Some belt sanders require periodic lubrication of certain components. Check the user manual for guidance and follow recommended maintenance schedules.
Common Belt Sander Mistakes to Avoid
Avoiding common mistakes with a belt sander can save you time and frustration.
Mistake #1: Skipping Grit Levels
- Don’t jump from a coarse to a fine grit without using an intermediate one. Skipping grit levels leaves scratches that are hard to remove later.
Mistake #2: Pressing Down Too Hard
- Applying excessive pressure can wear out belts quickly and create uneven surfaces. Let the sander’s weight do the work.
Mistake #3: Sanding Against the Grain
- Always sand with the grain to avoid visible scratches and rough patches in your final finish.
Mistake #4: Not Checking the Belt’s Direction
- Some belts have a directional arrow indicating which way they should rotate. Make sure you install the belt in the correct orientation.
Final Tips for Achieving a Professional Finish
Achieving a professional finish with a belt sander requires patience and the right approach.
- Sanding with the Grain: This is key to getting a smooth finish. Going against the grain often leaves visible scratches.
- Overlap Passes: To avoid lines or bands, slightly overlap each pass you make across the wood.
- Work Slowly: Speeding through sanding can leave the surface uneven. Work at a consistent, controlled pace for best results.
Using a belt sander effectively requires practice, patience, and the right technique. By mastering these tips and tricks, you can produce beautifully smooth surfaces and avoid common sanding issues.
Whether you’re working on large projects like tabletops or smaller items like frames, a belt sander can be your go-to tool for efficient, high-quality sanding.
With the proper care, setup, and handling techniques, your belt sander will continue to perform well for years, helping you bring out the best in every project.


