Get Started With Woodworking
Getting started with woodworking can be one of the most satisfying and rewarding hobbies or professions you’ll ever take up. It’s a blend of craftsmanship, creativity, and practicality. If you’ve always admired beautifully crafted furniture or wooden toys and wished you could make them yourself, this is your guide to help you begin your journey.
Understanding Woodworking
At its core, woodworking is about shaping and joining wood to create useful or decorative items. It can range from simple DIY projects, like a birdhouse or picture frame, to more complex tasks, such as building cabinets or furniture. While the skill levels can vary, the principles are the same: measure, cut, shape, and assemble wood. Let’s break down how you can dive into woodworking, even if you have zero experience.
Step 1: Understanding the Basics of Wood
To work with wood, it’s important to understand the material. There are two main types of wood: hardwood and softwood. Hardwood comes from deciduous trees like oak, maple, and walnut. It’s dense and durable, making it ideal for furniture and flooring. Softwood, like pine and cedar, comes from coniferous trees and is easier to work with. It’s commonly used in construction and for beginner projects because it’s more affordable.
When choosing wood, think about what your project needs. Softwoods are great for beginner projects because they’re easy to cut, sand, and shape. However, hardwoods might be better for projects where durability and aesthetics are important, like making a coffee table or chair.

Step 2: Essential Tools for Beginners
You don’t need an expensive workshop full of tools to start. With just a few essential tools, you can begin tackling small projects and gradually add to your toolset as you progress.
Measuring Tools
Woodworking is all about precision. Good measuring tools are essential for ensuring everything fits properly. Here are the basics:
- Tape Measure: A must-have for measuring pieces of wood. Start with a 25-foot tape measure, as it’s long enough for most projects.
- Square: A carpenter’s square helps you mark accurate right angles, which is important for most woodworking projects.
- Pencil: You’ll need a good, sharp pencil to mark measurements on wood.
Cutting Tools
Once you’ve measured and marked your wood, it’s time to cut. A few basic tools will get you started:
- Handsaw: For straight cuts, a handsaw is the most basic tool. It’s cheap and simple to use.
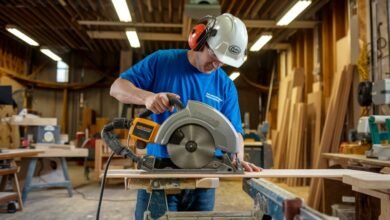
- Circular Saw: A circular saw is an excellent step up for cutting larger pieces of wood. It’s fast and more efficient than a handsaw.
- Jigsaw: Great for cutting curves or odd shapes, a jigsaw is a versatile tool to have in your arsenal.
Shaping and Smoothing Tools
After cutting, you’ll often need to shape or smooth the edges of your wood to remove any rough spots or adjust the fit.
- Chisels: These are hand tools that help carve out sections of wood or refine edges. Start with a basic set of three or four sizes.
- Sanding Block or Electric Sander: Sanding smooths out the wood surface. While a sanding block is great for small jobs, an electric sander will save time on larger projects.
Fastening Tools
Once your pieces are cut and shaped, you’ll need to join them together.
- Clamps: Clamps hold your pieces steady while you glue, nail, or screw them together. You can never have too many clamps.
- Hammer and Nails: A good hammer and nails are essential for traditional joinery.
- Screwdriver and Screws: For stronger joints, screws often work better than nails. A good set of screwdrivers (or a power drill with a screwdriver bit) will come in handy.
Step 3: Choose a Beginner Project
With your tools ready, it’s time to choose a project. For beginners, it’s important to pick something simple yet rewarding. Here are a few ideas:
- Birdhouse: A classic project that involves basic cutting and assembling skills.
- Picture Frame: Another easy project that teaches you about measuring and mitered cuts (cutting angles).
- Simple Shelf: Building a small shelf can teach you about joining wood and reinforcing structures.
Whichever project you choose, make sure it’s something you feel excited about. The joy of woodworking comes from seeing a project come together with your own hands.
Step 4: Learn About Safety
Safety is an important aspect of woodworking, especially when using power tools. Here are a few key safety tips to keep in mind:
- Always wear safety goggles to protect your eyes from wood dust and debris.
- Use ear protection when using loud tools like circular saws or power sanders.
- Wear a dust mask when sanding or working with wood that generates fine dust particles.
- Keep fingers away from cutting edges by using push sticks or other guides.
- Keep your work area clean to avoid tripping hazards and ensure that tools are stored properly.
It’s easy to overlook safety when you’re excited to start a project, but woodworking can be dangerous if proper precautions aren’t taken.
Step 5: Basic Woodworking Techniques
Before you jump into complex projects, it’s useful to learn a few basic techniques. These techniques will serve as the foundation for your future projects.
Measuring and Cutting
Accurate measuring and cutting are crucial. Always measure twice and cut once. It’s better to be slightly off on the large side (you can always sand or cut more) than to cut a piece too small.
Joining Wood
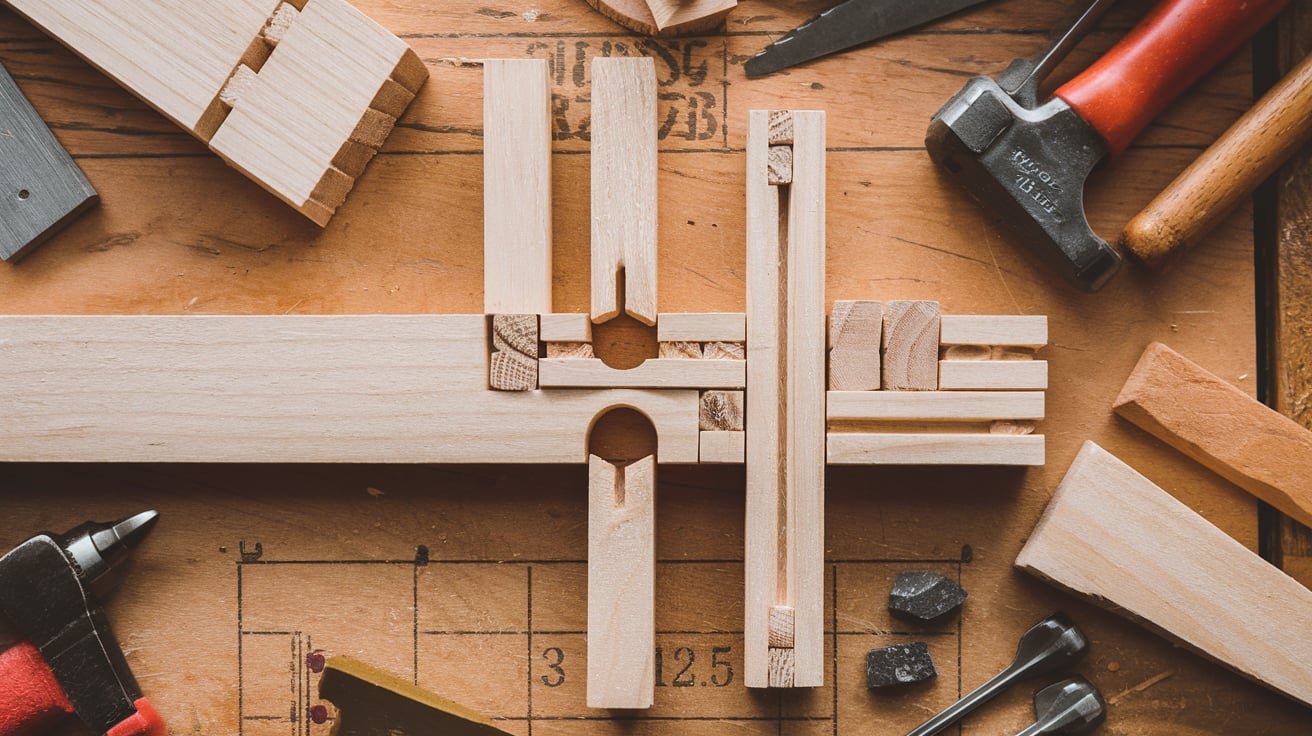
There are different methods to join wood depending on the strength and appearance you want. Some common methods include:
- Butt Joint: This is the simplest joint where two pieces of wood meet at a right angle. It’s good for basic frames but not the strongest joint.
- Dovetail Joint: This is a classic woodworking joint used for drawers and boxes. It’s strong and decorative but requires skill and patience to execute.
- Pocket Holes: A pocket hole is an angled hole that allows you to screw pieces together without the screws showing on the outside. It’s a popular technique for making furniture.
Sanding and Finishing
Once your project is assembled, sanding and finishing will give it a professional look. Start with coarse sandpaper to smooth rough edges, then move to finer grits to achieve a smooth surface. For finishing, you can apply wood stain to enhance the natural grain of the wood or use paint if you want a specific color. Finish with a clear coat (such as polyurethane) to protect the wood from moisture and wear.
Step 6: Learn from Others
There’s a wealth of knowledge out there to help you improve your woodworking skills. Whether it’s through online tutorials, books, or local woodworking classes, learning from experienced woodworkers will take your skills to the next level. Don’t hesitate to ask questions, join woodworking forums, or even find a local woodworking club where you can learn from others and share ideas.
Step 7: Building Your Workshop
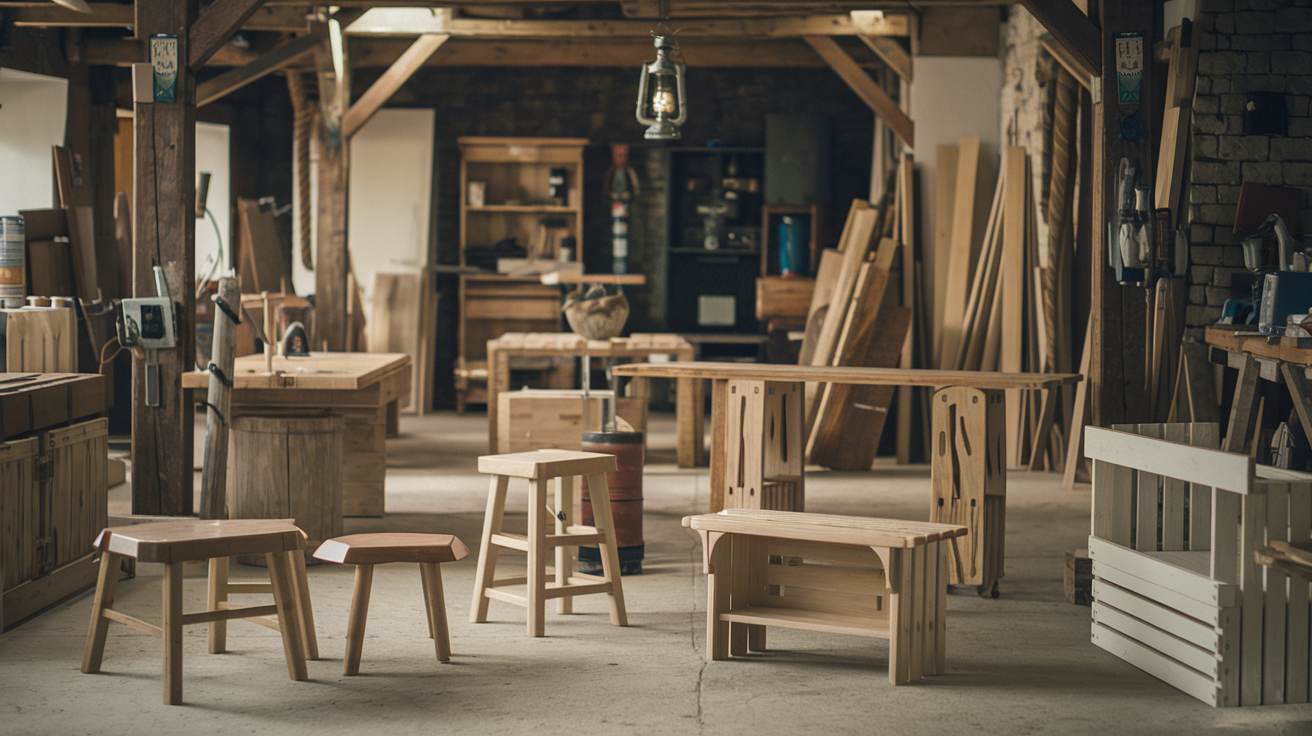
As you get more involved in woodworking, you’ll likely want to expand your workspace and tool collection. While a simple garage or shed will do for starters, here are some key items to consider for a basic woodworking shop:
- Workbench: A sturdy workbench is the heart of any workshop. You can build one yourself or buy a ready-made one. Make sure it’s solid and at a comfortable working height.
- Power Tools: While you can do many projects with hand tools, power tools like a table saw, miter saw, and router will speed up your work and allow you to take on more advanced projects.
- Storage: As your tool collection grows, you’ll need storage solutions to keep your workspace organized. Wall-mounted tool racks, shelves, and pegboards are great options.
Step 8: Continue to Challenge Yourself
As you grow more comfortable with woodworking, challenge yourself with more complex projects. Perhaps you start building larger furniture pieces like chairs, cabinets, or dining tables. These projects will push your skills to the next level and allow you to experiment with different techniques and styles.
Woodworking is an ever-evolving craft. No matter how experienced you become, there’s always something new to learn. Whether it’s mastering a new joinery technique, trying out a different finish, or working with exotic wood species, the possibilities are endless.
To Summarize
Starting woodworking is about more than just building things; it’s about learning a craft that connects you with age-old traditions. From understanding the types of wood to mastering basic tools and techniques, woodworking opens up a world of creativity and satisfaction. Begin with small projects, focus on honing your skills, and most importantly, enjoy the process. The more time you spend in the workshop, the more confident you’ll become. Before you know it, you’ll be crafting pieces that not only serve practical purposes but are also beautiful works of art.
Woodworking is a journey, and the best part is that it’s always rewarding. So, get started today! Grab some wood, gather your tools, and make that first cut—you’ll be hooked from the start.


