Best Practices for Woodworking Project Planning
Planning is fundamental to the success of any woodworking project, providing structure, improving efficiency, and minimizing errors. A thoughtful approach can make all the difference in the quality, safety, and enjoyment of the work itself.
In this guide, we’ll go through best practices to help you plan out your woodworking projects, covering areas like concept creation, material selection, tool management, time estimation, safety measures, and more.
• Setting Clear Project Goals
Before you even pick up a tool, it’s essential to have a clear idea of what you want to accomplish with the project. Setting specific goals helps ensure your final product matches your vision. Ask yourself a few questions:
- What type of furniture or object are you building?
- What purpose will it serve, and what function must it fulfill?
- Are there specific design elements, styles, or finishes you’d like to incorporate?
These questions will help narrow down the scope of your project and provide a clearer picture of what you’ll need in terms of materials, tools, and time.
• Research and Inspiration Gathering
Every well-executed woodworking project starts with research and inspiration. Look through books, online resources, and woodworking forums to find images or plans that resonate with you. Sites like Pinterest, Instagram, and specialized woodworking communities can offer a wealth of ideas. However, research goes beyond just visual inspiration. Look for:
- Techniques or construction methods specific to the project you have in mind.
- Solutions to common problems encountered by others with similar projects.
- Suggested tools, materials, and finishes for your particular project type.
The research stage helps refine your goals, clarify steps, and prepare you to handle challenges.

• Sketching and Drafting Your Design
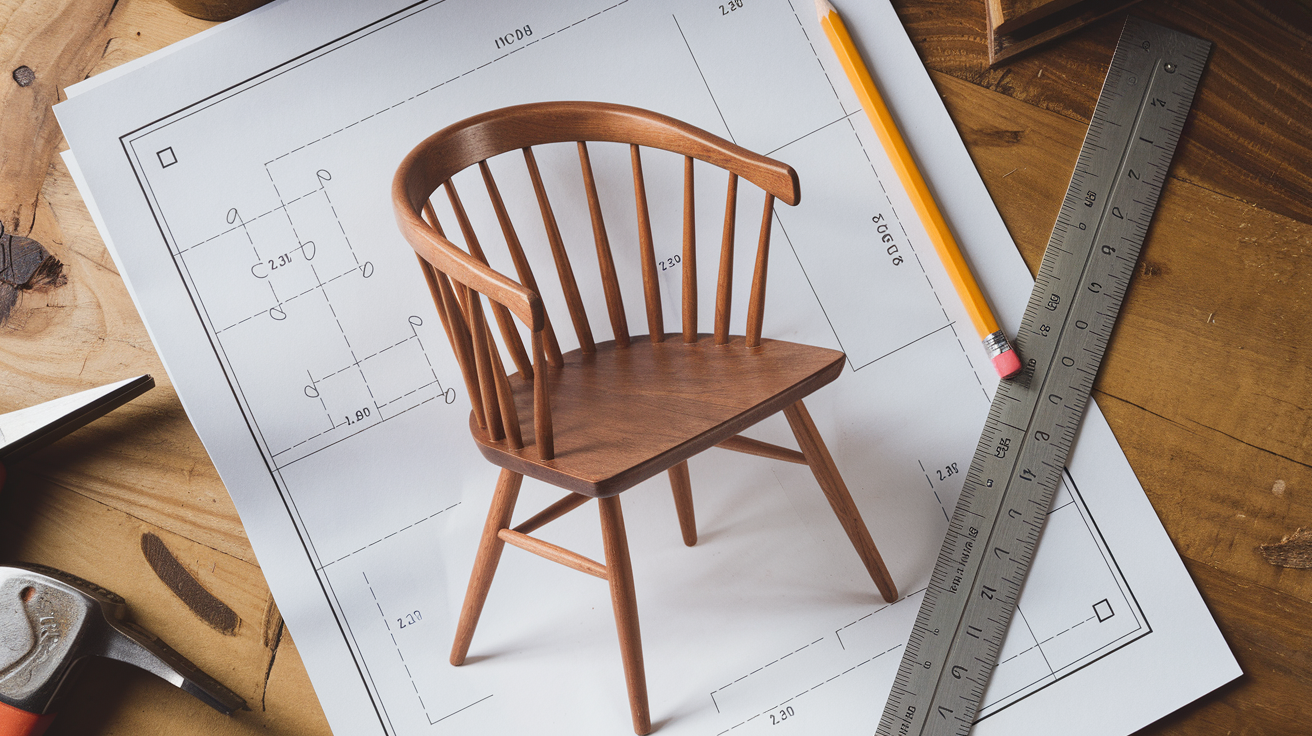
Sketching a design or drafting a formal plan is crucial in woodworking planning. Whether you’re working with pencil and paper or using design software, creating a visual blueprint allows you to:
- Visualize dimensions, proportions, and component placement.
- Identify potential construction challenges before cutting wood.
- Map out accurate measurements for efficient material use.
Consider CAD software like SketchUp, Fusion 360, or other woodworking-specific design tools if you’re planning a complex piece or want precise measurements. Even a rough sketch can serve as a valuable reference during the build.
• Material Selection
Material selection is critical in woodworking and can significantly impact your project’s aesthetics, durability, and functionality. Here are factors to consider:
- Wood Type: Hardwoods like oak, maple, and walnut are more durable and lend themselves to high-quality furniture. Softwoods like pine and cedar are more affordable and work well for less demanding projects.
- Wood Grain: Pay attention to the grain pattern and texture; these details contribute to the visual appeal of the final piece.
- Dimensional Stability: Some woods are more prone to warping or shrinking. Choose materials that suit the environment where the project will be used.
- Availability and Cost: Always balance quality with budget. Some exotic woods are costly, while locally available options may fit your needs without inflating the budget.
You should also decide early if you’ll incorporate any mixed materials, like metal hardware or glass panels, and account for these in your plan.
• Estimating Time and Budget
Underestimating the time and money required for a project can lead to incomplete or rushed work. Estimate both time and budget accurately to avoid setbacks:
- Time Estimation: Break down your project into smaller steps (cutting, joining, sanding, finishing), and assign an estimated time for each.
- Budgeting: List out the cost of materials, tools, accessories, and finishes. Set aside extra funds for unexpected expenses.
A realistic budget and timeline make it easier to see the project through without interruption or frustration.
• Tool Preparation and Maintenance
Each project requires specific tools, and ensuring these tools are in good condition is crucial to the success of your work:
- Inventory Check: Take stock of the tools you’ll need, such as saws, drills, chisels, clamps, and sanders. Purchase or borrow any tools you may lack.
- Tool Maintenance: Sharpen blades, clean surfaces, and check the functionality of power tools before you start. Maintaining tools helps ensure accuracy and reduces risks.
- Tool Safety: Make sure all tools are equipped with the necessary safety features, such as blade guards on saws or dust collection systems on sanders.
Proper preparation and maintenance not only contribute to a smooth workflow but also enhance your safety during the build.
• Creating a Step-by-Step Plan
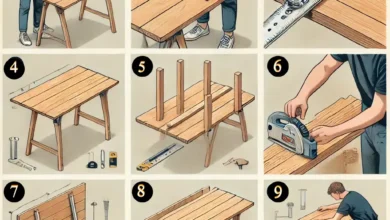
Breaking down the project into sequential steps helps you stay organized and keeps the project moving forward without confusion. A typical step-by-step plan might look like this:
- Cutting: Measure twice and cut once. Having all pieces cut and labeled in advance will save time and prevent mistakes.
- Dry Fitting: Assemble the pieces without glue or screws to ensure everything aligns properly.
- Assembly: Attach the pieces using the appropriate joinery techniques. Use clamps to hold pieces securely.
- Sanding: Smooth out the surfaces and edges to prepare them for finishing.
- Finishing: Apply paint, stain, or varnish for durability and aesthetics.
With a solid plan in place, you can approach each stage with confidence and purpose.
• Test Fit and Adjustment
One of the most valuable practices in woodworking is to perform a test fit before any permanent assembly. A test fit involves arranging all components as they’ll be in the final assembly without securing them. This practice lets you:
- Confirm alignment and fit.
- Make necessary adjustments before it’s too late.
- Avoid the frustration of undoing or redoing joinery work.
During the test fit, pay attention to how well the joints align and if any gaps need to be corrected.
• Choosing the Right Joinery Method
Different projects require different types of joinery, and choosing the right one is essential for both the strength and appearance of the finished piece. Consider:
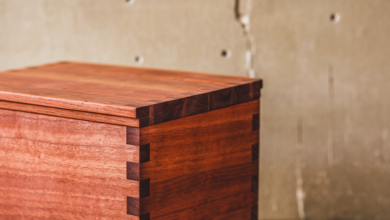
- Dovetail Joints: Known for their strength and aesthetic appeal, dovetail joints are excellent for drawers.
- Mortise and Tenon Joints: These are sturdy and versatile, ideal for tables and chairs.
- Butt Joints: Simple but functional, they’re good for basic frames but require reinforcement.
- Biscuit Joints: These provide added strength without visible hardware, popular for cabinetry.
Understanding each joinery method’s strengths and weaknesses allows you to choose the best approach for each part of your project.
• Sanding and Surface Preparation
Sanding is a step that significantly affects the final appearance of your piece, and it’s often worth taking the time to do it well. Proper surface preparation includes:
- Choosing the Right Grit: Start with coarser grit paper (80–120) for rough shaping, then move to finer grits (220–320) for finishing.
- Even Sanding: Use an orbital sander or sanding block for even pressure, preventing dips or uneven surfaces.
- Dust Removal: Clean off dust between sanding passes to avoid buildup, which can impact the smoothness of the finish.
Taking your time with sanding ensures a smooth surface, helping your finish adhere evenly and look its best.
• Finishing Techniques
Applying a finish to your project protects the wood and enhances its appearance. There are various types of finishes, each suited to different kinds of wood and projects:
- Oil Finishes: Linseed or tung oil penetrates the wood and enhances the grain, giving a natural look.
- Polyurethane: Provides a hard, protective coating, ideal for surfaces that need durability.
- Shellac: Great for a high-gloss finish but less durable than polyurethane.
- Wax: Provides a soft, natural sheen, often used as a final topcoat.
Understanding the advantages and limitations of each type of finish helps you choose one that matches your project’s needs and aesthetic.
• Safety Practices for Woodworking Projects
Woodworking can be dangerous without the right safety precautions. Make sure to:
- Wear Protective Gear: Always use eye protection, gloves, and a dust mask. For loud tools, wear ear protection.
- Practice Dust Control: Wood dust is a significant health hazard, especially with hardwoods. Use a dust collection system, and consider wearing a respirator.
- Keep Work Area Organized: A clutter-free workspace reduces the chances of tripping, knocking over materials, or misplacing tools.
By making safety a priority, you’ll create a safer, more productive environment for woodworking.
• Documenting Your Project
Documenting each stage of your project is beneficial for both practical and creative reasons:
- Reference for Future Projects: Notes and photos can help you improve on future projects.
- Troubleshooting: If a piece doesn’t fit as expected, having records can help you trace the issue.
- Showcasing Your Work: Documenting your process gives you material to share on social media or to build a portfolio.
Recording your process can serve as a helpful learning tool and also allow you to reflect on your growth as a woodworker.
• Reflecting on and Evaluating the Finished Project
After completing a project, it’s valuable to take time to evaluate your work. Consider these aspects:
- Functionality: Does the piece serve its intended purpose?
- Aesthetic Quality: Is the finish even and appealing? Do the proportions look as expected?
- Learning Points: Reflect on what went well and where you could improve. Documenting these insights helps refine your skills.
Evaluating your work critically but constructively helps you improve and feel accomplished with each project you complete.
To Summarize
A well-planned woodworking project is efficient, enjoyable, and yields beautiful results. By following best practices like setting clear goals, carefully selecting materials, preparing tools, and working with safety in mind, you’ll not only achieve your desired outcome but also grow as a woodworker.
The satisfaction that comes from a job well done is worth the time and effort spent in the planning stages, paving the way for even more successful projects in the future.


